Showing posts with label paper crafts. Show all posts

Saturday, December 4, 2010

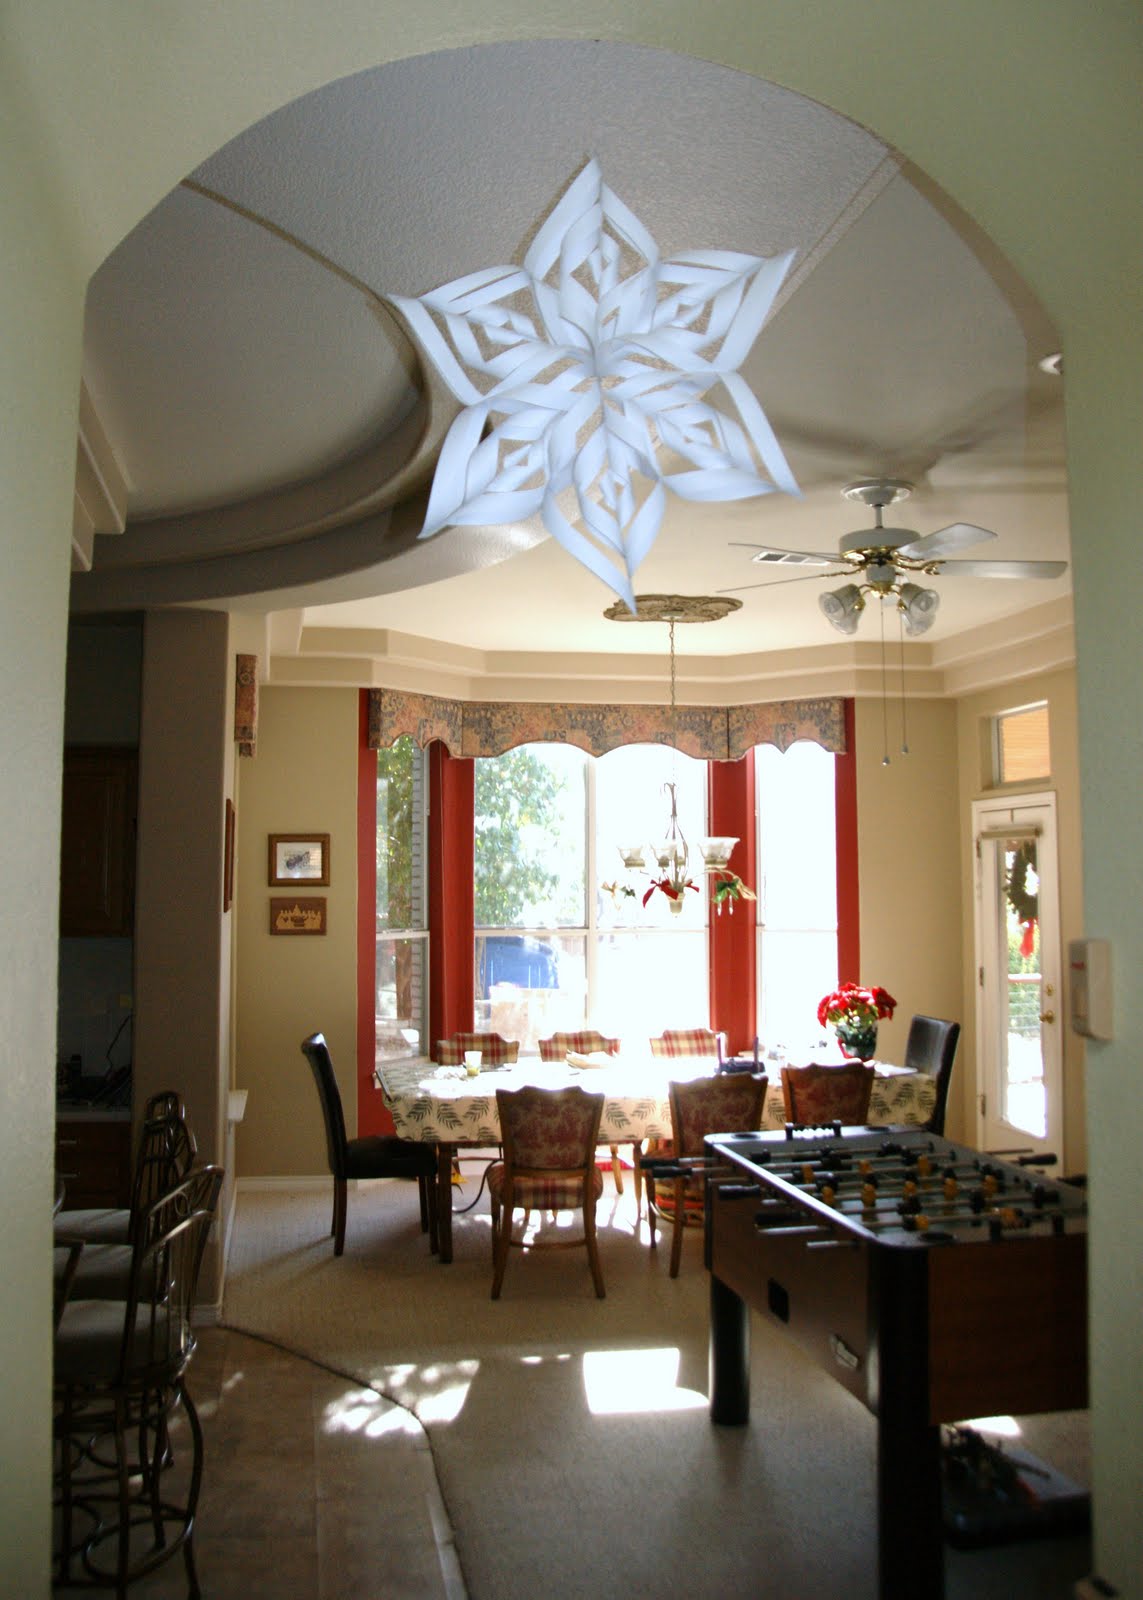
Snowflakes :: 3D

The three girls here are papercrafting again.

SNOWFLAKES

'Tis the season!

After this one was hung, the girls got busy again and made one for their neighbor friend.

They're easy to make. All it takes is:

-6 sheets of copy paper
-scissors
-tape
-stapler
-Christmas music (optional, but recommended)
-a fire in the fireplace (also optional)

Check out this tute to make some indoor snow for yourself!

NOTE: The only thing this tutorial leaves out is making the second half of the snowflake that needs to be stapled to the first half. Then, to keep the branches held together while it hangs, you'll need to staple or tape about half way down each branch where the outer ribbons cross.

Let it snow, let it snow, let it snow!

Wednesday, February 10, 2010

Hearts

There's something coming up soon

quilled heart


that has inspired some of our little hands

crocheted hearts


to create


all things pink and red!

kusudama ball


So many new creations that we had to make a new place to display them all.


Taking pruning snips to our magnolia tree did the job. The pot we made years ago with the kids' hand and foot angels also found a new purpose.

Jimmer will now share with you a memory lesson from his grammar book:

Hearts, like doors, will open with ease,
To very, very little keys.
And don't forget that two of these
Are "Thank you, sir" and "If you please!"

Thursday, January 14, 2010

Does your momma kusudama?

All it took was for the girls to see this in my hand.


Their eye brows arched.
Their foreheads got excitedly wrinkled.
Their pupils became little bulls eyes.

After all, who can resist making a 3D ball out of little paper squares?
Okay, maybe not ALL of us are as intrigued with paper crafting as my girls.

After my extremely thorough (wink, wink) 30-second tutorial, off they went with a pad of my Post-its. (I hadn't taken time to cut 60 3x3" squares.)

Mary Kate came back with this colorful first effort.


After I realized that the kids (minus Mikey) were indeed interested enough, I broke down and cut a bunch of little squares out of paper...in Mary Kate's favorite color--lel-low.

They folded every "petal".
I glued.


As you may be able to see, their efforts were much more impressive than mine.

Let's just say...
Our paper ball is not exactly German engineered.

Ours did not turn out quite as precise as the ones on Folding Trees. It took some wranglin' to squeeze both halves together while securing with tacky glue, but I was able to beat it into submission and form it into a spherical object.

Thankfully, after all materials were given proper time to cure (the glue dried while I was asleep), the lovely kusudama ball remained intact.

To have your own folding fun, start here for the tutorial to make your own kusudama balls.

Maybe we'll try this style next.

Ooh, and we'll use recycled materials--perhaps an old paper bag, our outdated atlas, or some left over gold or silver wrapping paper...

NOTE: Our children are 7-10 years old, and they are all able to fold the petals proficiently (oldest boy just wasn't particularly interested). The 9 and 10 year olds are able to glue individual "flowers" well, but it may be frustrating for them to attempt creating the entire sphere independently.
Saturday, December 19, 2009

Paper Circle Snowflakes Tutorial

We had so much fun with the quilled paper snowflakes, I came up with a different design for these paper circle snowflakes.


I took four sheets of 12" x 12" scrapbooking paper and adhered 2 sets with repositionable spray adhesive. (I put a lighter complimentary color to the backs of the red and green papers.)

The green thingy is my quilling tool.

The other sides of the papers I adhered.


I cut 1/4" strips of various lengths from each sheet--mainly 2-1/2" length for the bigger circles I made with my chap stick as a form guide, and 1-3/4" length for the ones I made with one of the kids' markers. I used short leftover scraps for the 3 loose, quilled centers and the 6 closed coils at the tips of the snowflake.

For each snowflake, you'll need:
13 larger circles
12 smaller circles
3 loose quilled circles for the center
6 closed coils for the snowflake tips.

Here's a link for basic quilling instructions.

I arranged them so that there would be a dark outer circle round followed by the next round with a lighter contrasting color on the outside (if that makes sense--if not, just refer to photo).

Use tweezers to help glue the smaller circles to the insides of the larger circles. (Believe me, it's more enjoyable that way! =)


Use tacky glue to stick 'em all together as they are arranged in the top photo, put embroidery thread or small ribbon through one of the closed coils for an ornament hanger, and VOILA--a circle snowflake ornament!

Hmmm...now that I'm looking at the photo of the hanging ornament, I'm thinking that gold guilded edges would look very nice. I just might have to dig up my gold paint pen and see how it looks.

Let me know if you try this or have more ideas for similar projects.

Friday, December 11, 2009

Our four calling birds happenings :: Snowflakes

Last week, we were expecting some accumulation of snow.
Promising excitement for building this year's snowman.
We haven't had snow here for a few years...hence the excitement.


This is about all we saw.
Fifteen minutes of snow downfall, impressively heavy for about five of those minutes.
Kids ran around the front yard and caught snowflakes in their mouths and rode their bikes through the heaviest downfall.

No accumulation.
No snowman.

So, if snow won't come to us...
we'll just have to make it.


MAKING SNOWFLAKES


Rolling...rolling


The girls made most of the coils.

Mikey thought they looked really neat...but wasn't interested in helping with the process.

Jimmer was intrigued with rolling these paper coils with the quilling tool.


Here are the directions to make these snowflakes. With 2 sheets of 8-1/2 x 11" white card stock and a little glue, we made 8 of these nifty snowflakes. I read that a 12" x 12" sheet yields 10 snowflakes. Guess I wasn't being efficient with our paper.

All of these snowflakes are slightly different. Can you tell?